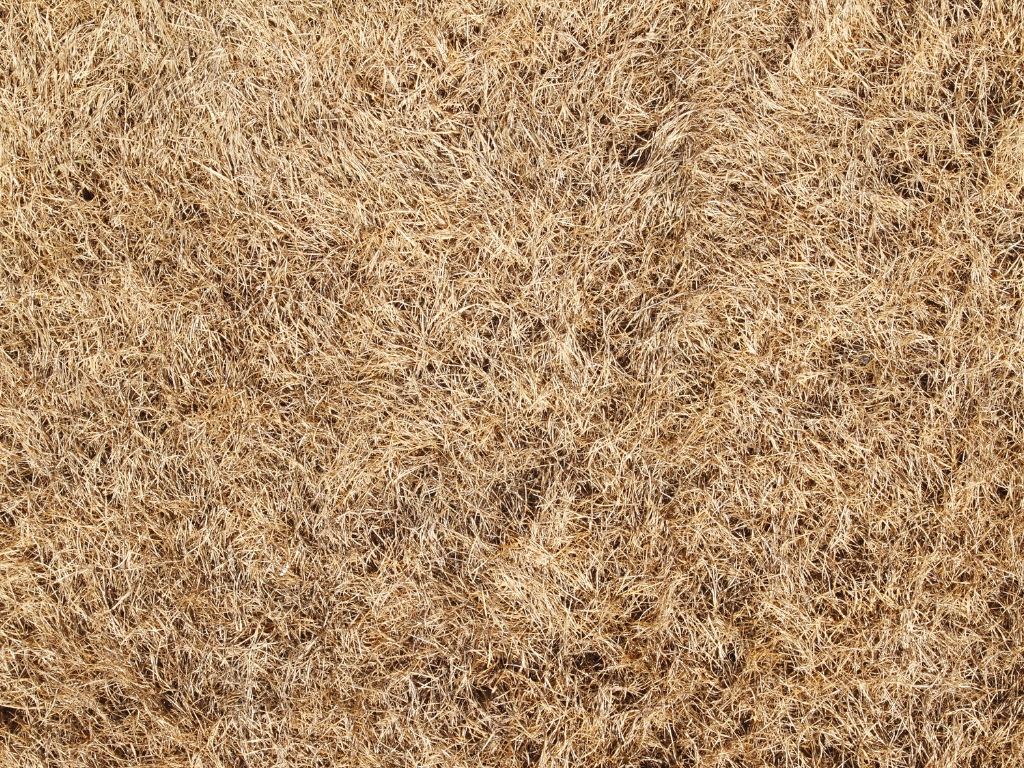
Nobody enjoys a patchy lawn. Brown patches not only detract from your home’s curb appeal, but they also indicate underlying issues that could spread and compromise the overall health of your lawn.
The good news is that with a little knowledge on how to fix dead patches in lawn and some elbow grease, you can successfully restore your lawn’s former glory. This guide will walk you through everything you need to know about proper lawn care, from identifying the culprit to nurturing new growth.
Common Causes of Dead Patches (and How to Spot Them)
Now that you know there’s more to brown patches than meets the eye, let’s delve deeper into some common culprits and the telltale signs they leave behind:
- Grubs: These beetle larvae live underground and feast on grass roots. Signs of grub damage include spongy turf that easily pulls up, along with sightings of birds or animals digging in your lawn for a grub feast.
- Fungal Diseases: These villains come in various forms, but they often cause brown patches with circular or irregular edges. You might also notice stunted growth or a powdery mildew-like substance on the blades.
- Drought and Heat Stress: During hot, dry periods, your lawn might develop brown patches due to lack of moisture. These patches tend to recover with proper watering. However, if the brown persists despite watering,there might be a deeper issue with root health or soil composition.
Preparing the Patch
Once you’ve identified the culprit behind your various dead spots and patches, it’s time to prep the area for repair. Here’s what you’ll need to do:
- Clear the Dead Areas: Remove all dead grass, weeds, and other debris from the bare patches. This allows sunlight,water, and air to reach the new seed and promotes healthy growth. A garden rake or your hands will do the trick for most patches.
- Loosen Up the Soil: Compacted soil makes it difficult for grass roots to establish themselves. Use a rake or shovel to loosen the top inch or two of soil within the bare patch. This will create a more hospitable environment for seed germination.
- Enrich the Soil (Optional): For heavily compacted or nutrient-depleted soil, consider adding a thin layer of organic matter like compost or topsoil. Spread the organic matter evenly over the loosened soil and rake it in lightly to create a smooth seedbed.
Choosing the Right Grass Seed
Selecting the right grass seed is crucial for successful lawn repair. Here are some key factors to consider:
- Match Your Existing Grass Type: The best course of action is to choose grass seed that matches the type of grass in your surrounding lawn. This ensures a uniform appearance and promotes healthy competition between established and new grass. For instance, if you have a cool-season lawn like Kentucky bluegrass or fescue, choose a cool-season grass seed mix for repairs.
- Consider Your Climate: Different grass types thrive in different climates. Warm-season grasses like Bermuda Grass or Zoysia are better suited for hot summer regions, while cool-season grasses perform well in areas with cooler summers and mild winters.
- Quality Matters: Invest in high-quality grass seed from a reputable supplier. Cheap seed mixes often contain fillers and may not germinate well. Opt for seed specifically designed for lawn repair and suited to your climate.
By considering these factors, you’ll be well on your way to choosing the right grass seed for fixing those dead patches of dormant grass and achieving a lush, green lawn.
Seeding for a Thriving Lawn
Now that you have the prepped area and the perfect seed, it’s time to plant! Here’s how to ensure successful seeding:
- Choose the Perfect Timing: The ideal time for seeding depends on your grass type and climate. Cool-season grasses generally fare better with early spring or early fall seeding, while warm-season grasses prefer late spring or early summer seeding.
- Apply the Proper Seeding Technique: Spread the grass seed evenly over the prepared bare patch. A handheld spreader can be helpful for larger areas. Aim for a light but consistent application – you shouldn’t see bare soil peeking through.
- Put Light Covering: After seeding, gently rake the seeds into the top layer of loosened soil to provide good seed-to-soil contact. A thin layer of mulch (shredded leaves or straw) can also be helpful to retain moisture and discourage birds from feasting on the seeds.
Keeping Your New Grass Hydrated
New grass seedlings are delicate and require consistent moisture for proper germination and root development. Here’s how to keep your newly seeded patches thriving:
- Frequent Light Watering: Water the seeded area gently but thoroughly at least once or twice daily, especially during hot weather. The goal is to keep the top layer of soil moist, but not soggy. Avoid quick, heavy watering that can wash away the seeds.
- Adjust for the Weather: During hot, dry periods, you might need to water more frequently to prevent the soil from drying out. Conversely, adjust watering frequency during cooler or wetter periods to avoid overwatering.
- Monitor Seed Germination: Keep an eye on the seeded area for signs of germination, which typically occurs within 7-14 days for most grass types. Once the seedlings establish themselves and develop the first true leaves, you can gradually reduce watering frequency to allow the roots to grow deeper into the soil.
Fertilizing for Growth
While the focus during germination is on moisture, proper fertilization is also essential for establishing a healthy lawn. Here’s a quick guide:
- Hold Off on Fertilizer: Avoid applying fertilizer to newly seeded areas until the seedlings are well established, typically 4-6 weeks after germination.
- Choose the Right Fertilizer: Select a starter fertilizer formulated for new lawns. These fertilizers are typically lower in nitrogen and higher in phosphorus, which promotes root development.
- Follow Instructions Carefully: Always adhere to the application instructions on the fertilizer packaging. Over Fertilizing can damage young grass and harm the overall health of your lawn.
By providing consistent moisture and proper nutrients, you’ll be giving your new grass seedlings the best chance to establish a strong root system and thrive in your lawn.
Mowing Maintenance
Mowing is an essential part of lawn care, but it’s important to be mindful when dealing with newly seeded areas. Here’s how mowing plays a role in your entire lawn repair journey:
- Wait for Growth: Hold off on mowing the newly seeded area until the grass reaches a height of 3-4 inches. Mowing too early can stress the young seedlings and hinder their development.
- Adjust Mowing Height: Once it’s time for the first mow, raise your mower blades to a higher setting (around 2-3 inches) compared to your usual mowing height. This will help reduce stress on the new grass and allow it to establish strong roots.
- Gradual Reduction: As the new grass matures, you can gradually lower your mowing height back to your preferred level over subsequent mowing sessions. Remember, proper mowing practices not only maintain a neat appearance but also encourage healthy growth and discourage weeds.
By following these simple mowing tips, you can ensure your yard and newly repaired patches integrate seamlessly with your existing lawn, creating a uniform and healthy green space.
Preventing Future Patches
An ounce of prevention is worth a pound of cure, as the saying goes. Here are some proactive lawn care practices to help prevent the development of dead patches in the future:
- Regular Watering and Fertilization: Providing your lawn with consistent moisture and essential nutrients throughout the growing season promotes healthy growth and strong root systems, making it more resistant to stress factors that can lead to dead patches.
- Aeration: Compacted soil can hinder root growth and water infiltration. Aerating your lawn regularly (typically once a year) helps alleviate compaction and allows air, water, and nutrients to reach the grass roots more effectively.
- Grub Control Products: If grubs are a recurring problem in your area, consider applying preventative grub control products according to the manufacturer’s instructions. These products can help keep grub populations in check and prevent them from damaging your lawn’s root system.
By incorporating these preventative measures into your regular lawn care routine, you can minimize the risk of future dead patches and ensure your lawn thrives for seasons to come.
Wrapping Up
Knowing how to fix dead patches in lawn is crucial to achieve optimal lawn care. With dedication and the knowledge from this guide, transforming those brown patches into a flourishing lawn is within reach. Consistent care, including watering, mowing, and fertilization, will keep your green haven healthy for years to come.
Call Colonel Landscaping today! Our lawn care professional can diagnose issues, recommend solutions, and bring your lawn back to life. Let’s create a beautiful outdoor space you can truly enjoy.